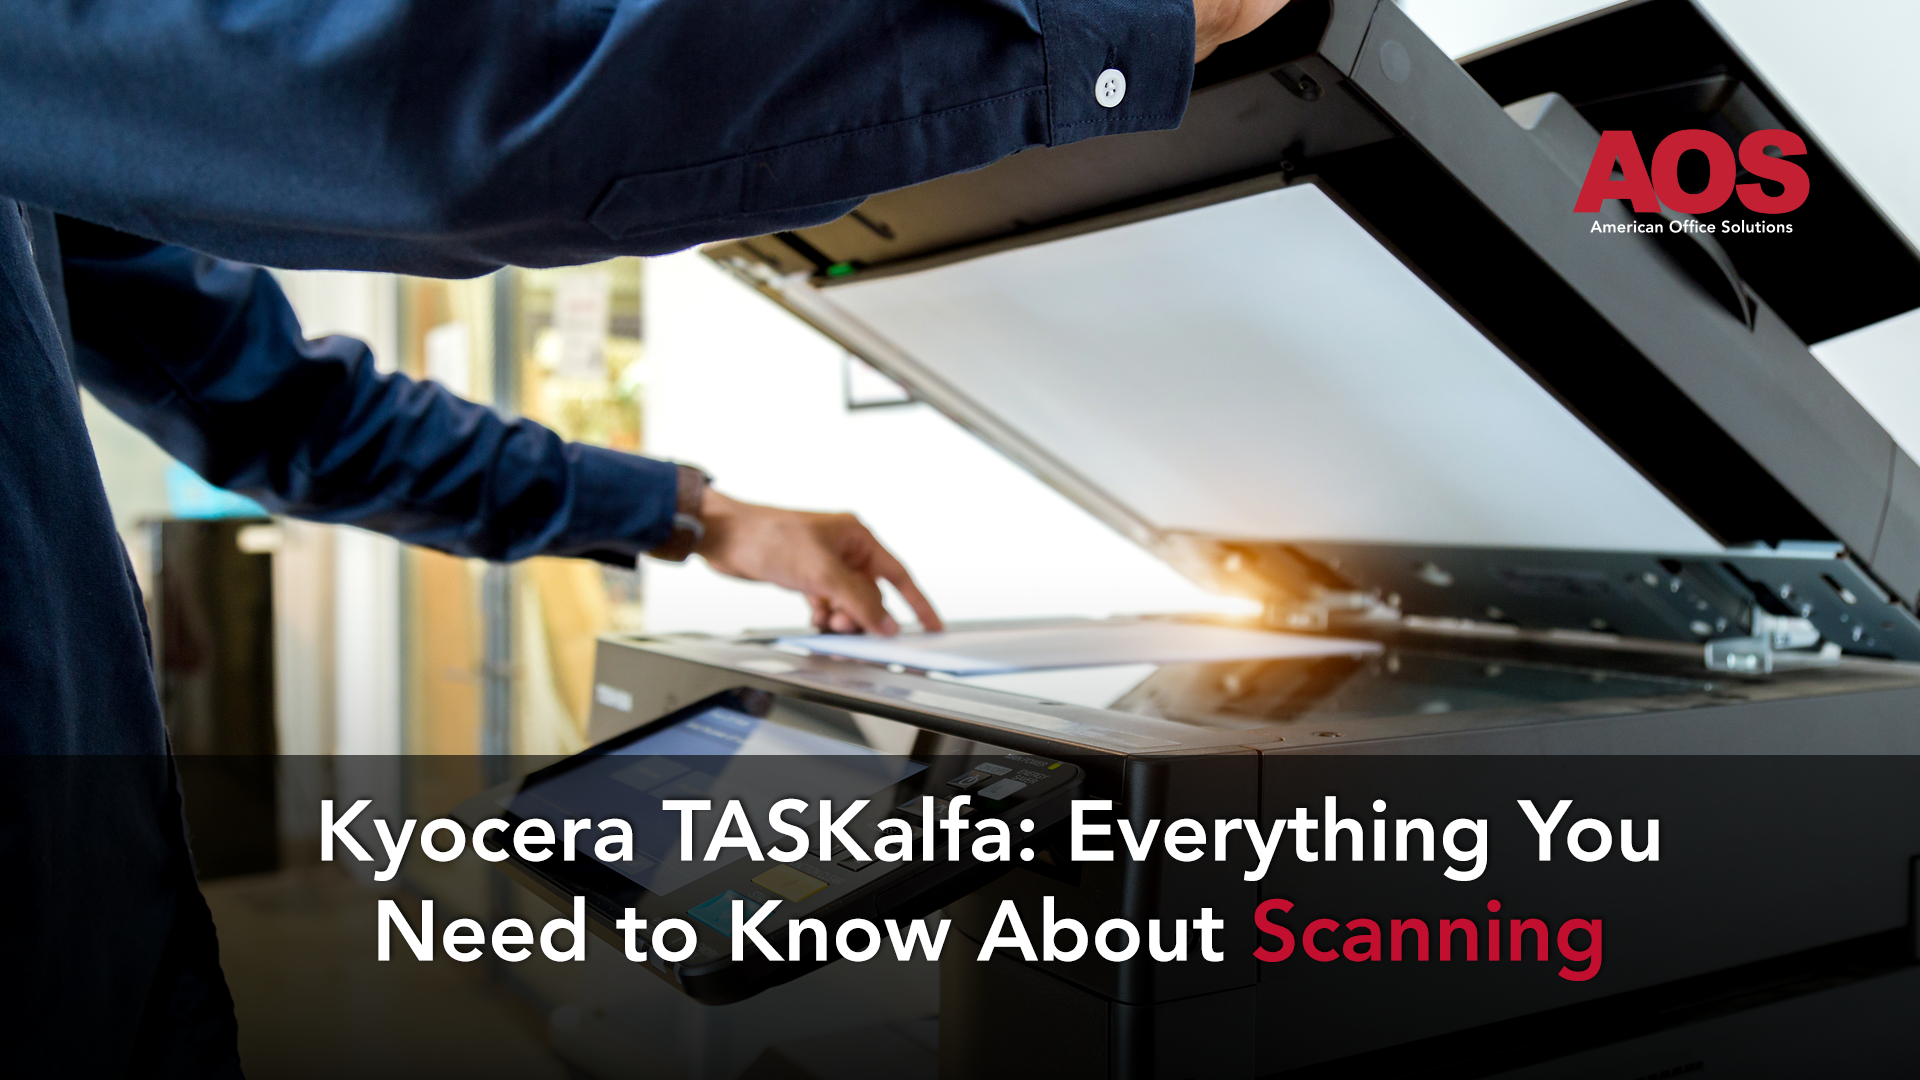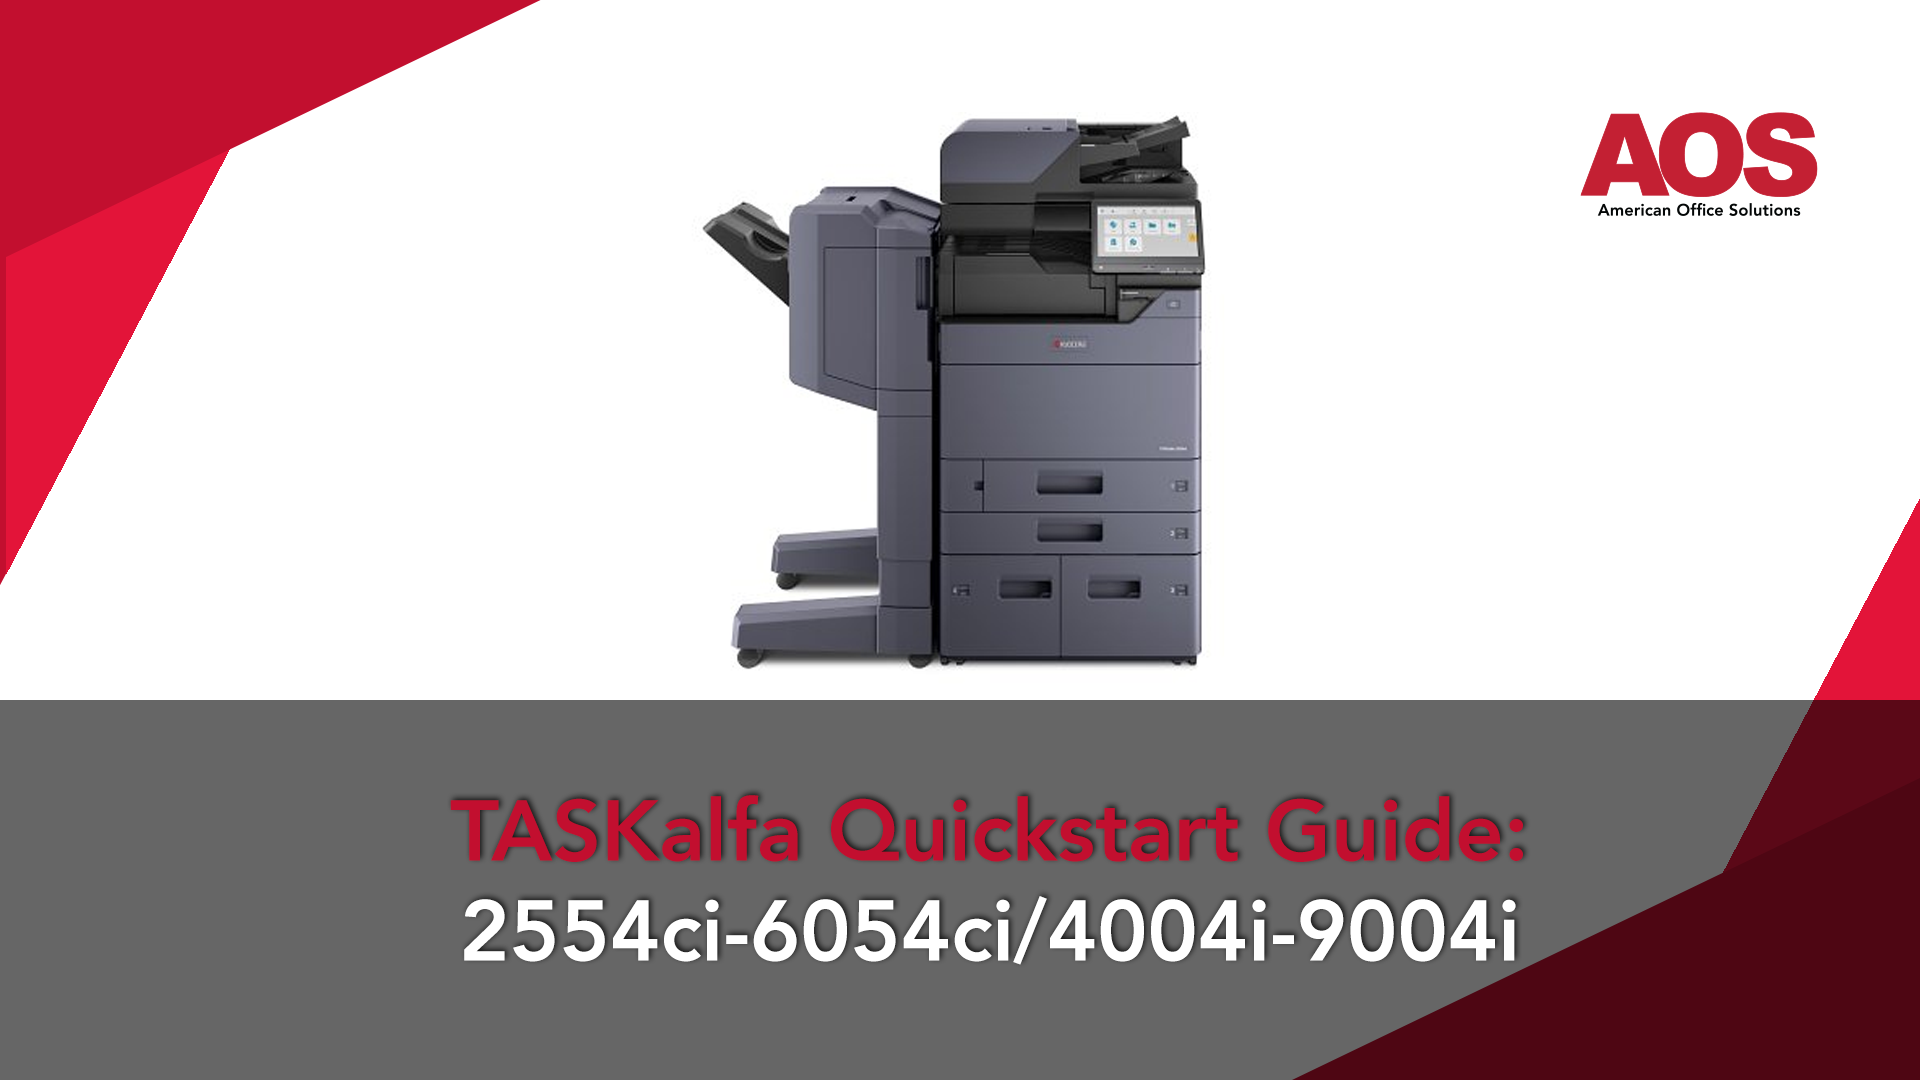
One of the most used features of a Kyocera TASKalfa multifunction printer is the copy function. Copying documents using a copier is the act of creating an exact reproduction of an original document.
How to Make Copies on a Kyocera TASKalfa 54ci and 04i Copier
To make a copy with a Kyocera TASKalfa copier, you can use two main methods: the Document Feeder or the Glass. Which method you use is dependent on what you are replicating.
Document Feeder Method - The first method for copying is feeding a document through the document feeder at the top of the device. You will copy most standard paper documents through the document feeder. The document feeder is capable of doing multiple sheets at once. You can easily add a stack of paper and walk away until your document finishes copying for minimal downtime.
Document Feeder Step by Step:
- Place your document(s) face up on the feeder, adjusting the side fences to the width of your paper. A blue light will light up on the side of the machine once properly loaded. (In prior TASKalfa models this was a green light.)
- Press the copy button on the touchscreen.
- Key in the number of copies desired by pressing the number pad on the right hand side of the touchscreen.
- Press the Start button.

Glass Method - The second method is placing the document on the glass. The best use of using the glass is for anything that is not paper. This includes licenses, insurance cards, card stock, or other documents that you wouldn't want to jam the document feeder. Unlike the Document Feeder you can only scan one document at a time using the glass.
Below is the step by step process on how to make copies using either method.
Glass Step by Step:
- Place a document face down lining the document to the upper left corner of the glass.
- Ensure there are no documents loaded into the Document Feeder. The Document Feeder overrides glass copies.
- Press copy on the touchscreen.
- Key in the number of copies desired by using the keypad on the right hand side of the touchscreen.
- Press the Start button.
How to Copy Double-Sided Documents on a Kyocera TASKalfa 04i and 54ci Series
While using the copy function on a Kyocera is easy, there are some features you may not see right away such as duplex copying. The Duplex feature tells the machine how many sides you are scanning. If you put in a two-sided document but see only one side is copied, check your duplex setting. The following duplex settings are available for you.
1-sided to 1-sided: If the document you are copying only has 1 side and you want it to print to 1 side, then use this option. The process will produce identical 1-sided copies.
1-sided to 2-sided: If you have a stack of 1-sided documents and want to combine them into two-sided copies, use this option. A 50 page one sided document effectively becomes a 25 page document since it's using both sides of the paper. You can also use the glass with this method, but will require a manual flip for each side. You will place one side down, push start, flip it, push start, then select "finish scan" when you're done.
2-sided to 1-sided: If you are copying a 2-Sided document, make sure 2-Sided is the first word you see on your selection. This ensures the device scans both sides of your paper. If it isn't selected the device will only copy the side facing up in the document feeder.
Choosing 2-Sided to 1-Sided will scan both sides of the page but copy them onto only one side. This means a 25-page double-sided document will be copied onto 50 single-sided sheets. This uses a lot of paper, so we recommend selecting it only if you prefer single-sided copies.
Please note this option is not available for glass scans, since the glass can only scan one side of the document at a time. You will instead want to use the 1-sided to-1 sided feature and scan both sides individually if using the glass method.
2-sided to 2-sided: If your document is double-sided, and you want to make an exact clone of double sided documents then you will want to select this option. The double sided copy will look identical to your original copy.
Please note this option is not available for glass scans, since the glass can only scan one side of the document at a time. You instead will want to select the 1-sided to 2-sided option. From there you will copy one side on the glass hit start, then flip it over and hit start again, and then finally click "finished Scanning." This will give you the result you are looking for.

Difference Between Full Color, Auto Color and Black & White
After selecting Copy from the touch screen you will notice a Color Section option. When making copies you have a few different options to choose from in terms of color.
Black & White: Black & White does exactly what it sounds like. Any document you put in will be copied as a black and white document. Often times this is used to save on color toner.
Auto Color: Auto Color allows the device to automatically select the best colors to reproduce the original document accurately. While this setting creates vibrant color copies, it may not achieve the full intensity of marketing-grade colors. For most standard copies, we recommend using Auto Color as it provides a strong color result with eco-friendly performance.
Full Color: Full Color means the device is going to use even more toner to bring out the fullest color. This includes true Marketing Black. Typically we recommend using this for marketing or one off prints. If you use it for all your prints it means using more toner, which means more expenses in the long run.

What does Kyocera's Combine Feature do?
Kyocera’s Combine feature allows users to merge multiple scanned pages into a single side of paper. This option is useful for creating condensed, readable layouts, especially for presentations, handouts, or archival documents. After selecting the combine option, select More. From there we will go over each of your options.
2 in 1 or 4 in 1: On the left side of your menu you will see 2 in 1 or 4 in 1 options. These settings let you combine multiple original pages onto one side of a sheet. For example, the 2 in 1 mode will place two pages side-by-side on one side of a sheet. 4 in 1 will place 4 documents on a single side of a sheet.
Layout: Here you can choose if you want the document to be copied left to right, or right to left. The 4 in 1 option will offer even more options including top to bottom directions as well.
Border Line: The TASKalfa models offer the choice to add borders around each combined page. This can enhance readability by distinguishing separate pages.
Original Orientation: This allows you to specify the layout of the original document—whether it's upright (top edge on top) or landscape (top edge on left.) It's important to check this setting to prevent upside-down or misaligned pages.
One special thing to note is that you can use the Combine feature in unison with the duplex feature. If you have a two-sided sheet, you can choose the duplex option and Select the 2 in 1 setting to make both sides appear on one side of the paper. You can mix and match most of the copying features of the Kyocera to achieve a multitude of results.
When should I use the Zoom feature?
Kyocera's Zoom feature lets users adjust the size of copied/scanned documents, providing flexibility for enlarging or reducing content. The zoom feature includes quick commands such as Letter>>Ledger which will automatically take an 8.4x11 sized paper and expand it onto an 11x17 paper. Likewise there are also options such as Ledger>>Letter, which does the exact opposite. Others like to use this feature to simply shrink or expand the size of a copy as needed.
Advanced Features
The above covers the primary copy features used most commonly. Below quick rundown of advanced copying features and when they'd be applicable:
Original Size: This feature lets you specify the dimensions of the document you’re copying. By selecting the Original Size, the copier or scanner can better align content, avoid cutting off parts of the document, and automatically adjust settings like zoom and orientation if needed. It's especially helpful when working with non-standard paper sizes as it minimizes misalignment and enhances output accuracy
Mixed Size Originals: This allows the device to scan or copy a batch of documents with different paper sizes such as 8.5x11 and 11x17. When this option is turned on, the device automatically finds the size of each page. This ensures that every page is scanned, copied, or printed correctly. It prevents cutting off content or misaligning pages.
To do this, adjust the document feeder rails. Set them to the width of your 11x17 paper. Then, adjust them to the length of the 8.5x11 paper. You should not load them in the same direction, or it will not work properly.
Original Orientation: This allows you to specify whether the top edge of the original document is positioned at the top or on the left side. If your copies are coming out upside down, we recommend changing the orientation to resolve this issue.
ID Card Copy: This allows you to copy both sides of an ID card, such as a driver’s license or employee badge, onto a single side of a sheet of paper. The device will prompt you to scan one side, flip it over, and then scan the other side. Remember to use the glass and not the document feeder when performing this function!
Org Manual Feed (Original Manual Feed): This allows you to select special media for your paper trays such as specialty paper, envelopes, labels, or other custom media. With that said, we typically recommend using the Bypass Tray instead of the standard trays. The Bypass Tray has a more simple passthrough and can better handle specialty paper.
Border Erase: The Border Erase feature on Kyocera devices removes unwanted edges or borders from copies or scans, which is especially useful when dealing with booklet scans. By adjusting the Border Erase settings, eliminate binding marks, or other unwanted margins that can appear on the final output.
Erase Shadowed Areas: This removes shadows that often appear when scanning or copying documents with uneven surfaces, like books or stapled materials. These shadows typically form along the inner edges or bindings and can interfere with readability and visual quality. By enabling this feature, you can automatically remove or reduce these shadowed areas, ensuring a cleaner, more professional-looking output.
Get More out of your Copying with a Managed Print Service
Now that you’ve seen the copying features available on your Kyocera TASKalfa device, remember you’re only scratching the surface. With advanced options like margin centering, cover creation, form overlays, binding, and collation, there’s so much more your device can do.
For help unlocking these features, we recommend connecting with a Managed Print Service Provider. They can guide you through everything you need to know, provide free training and tutorials, and ensure you’re getting the most out of your device. Plus, they include toner as part of your contract and can have your device back up and running within three hours if issues arise.
Ready to get started? American Office Solutions proudly serves Western, Central/Mid, and Southeastern Michigan. Feel free to give us a call at 800-346-6920 or get started below. Our team at American Office Solutions is here to meet your copier needs."
