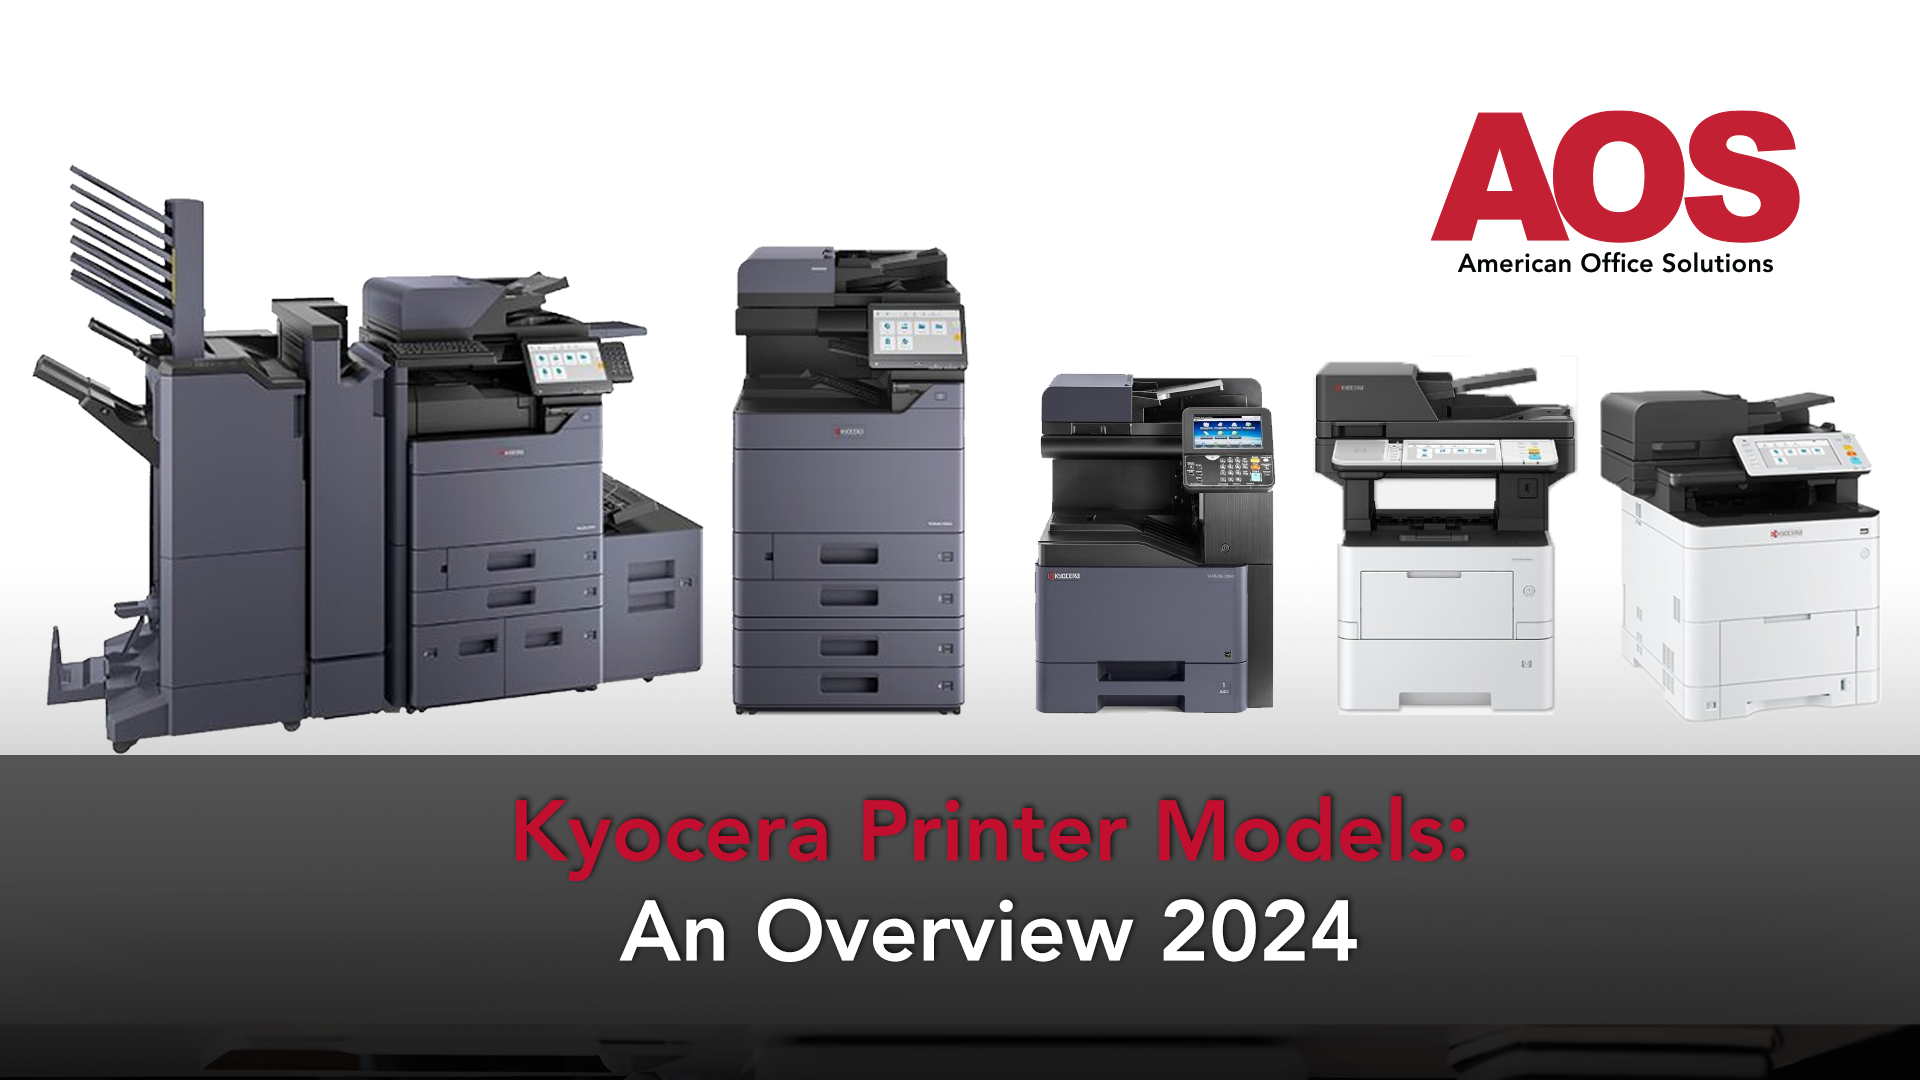
Today we're going to talk about the Kyocera TASKalfa devices. We're going to go over both the color device and the larger black and white device. If you want to jump to a section please click one of the below.
Index
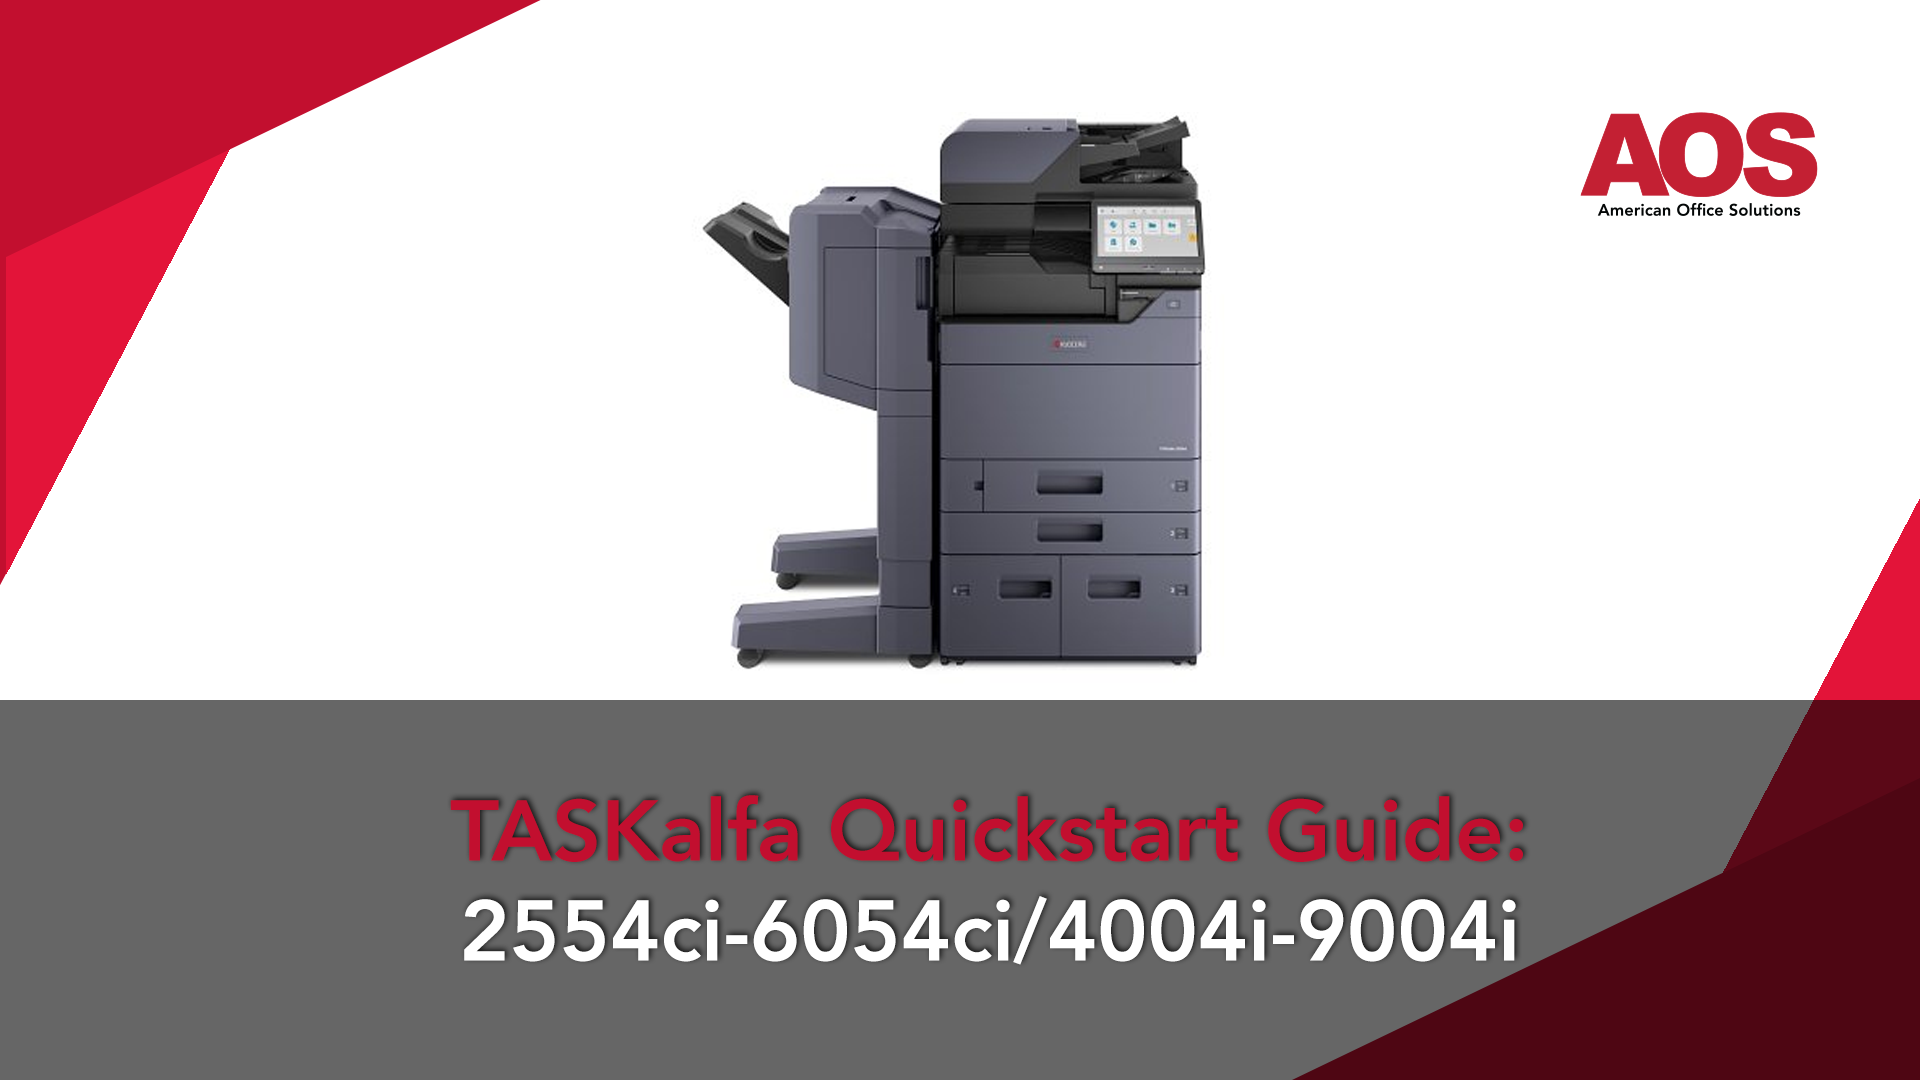
- Physical Features - Locating Document Feeder, Bypass Tray and Paper Trays
- Paper Jams - Locating and Resolving
- Toner - Where is it and how to Replace
- Waste Toner - How to Replace
- Copies - Basics to Making Copies
- Send - Basics for Sending to e-mail
Physical Features
Moving from top to bottom you will find:
Document Feeder - The TASKalfa device have document feeders positioned at the top where you can place your documents to make copies, and scans. When leasing a copier you can consider a dual scan document feeder which can scan both sides of the paper at once. Without a dual scan document feeder the page will have to go through the machine two times to make a copy.

Bypass Tray - A bypass tray can be found on the side of the device which will be used for envelopes, card stock, and other special print jobs.

Paper Trays - As you go down the device you'll see the paper trays at the bottom. This is where you will load the paper for printing documents on a day to day basis.
The TASKalfa series come standard with two 500 sheet paper trays. Below the two standard paper trays you have the option to have two additional 500 sheet paper trays, two 1500 sheet high capacity paper trays, or a storage/stand to house additional paper and materials. The image below both feature two high capacity 1500 sheet paper trays.

Adjustable Tabs - All devices come with at least two trays that have adjustable tabs to help fit your paper size. You can adjust the size by opening the trays, and using the blue tabs found on the inside. The top tray prints letter/legal (up to 8.5x14) while the second tray prints up to ledger sized paper (11x17)

Paper Jams
TASKalfa devices include onscreen prompts which will will walk you through step by step on how to fix a paper jam. Most paper jams can be resolved by lifting the handle on the side of the device to open the side door.
Paper Jam Compartment - 2554ci, 3254ci, 3554ci, 4054ci, 5054ci, 6054ci, 4004i, 5004i, 6004i

Paper Jam Compartment - 7004i, 8004i, 9004i

Everything that is labeled blue is where a paper jam is likely to be. These areas are all safe to touch.

If you have a jam while scanning or copying, it might be jammed in the document processor. You can open it by lifting the handle.

Lastly, if you have a stapler/hole puncher finishing option you may also have a paper jam in the area just below the document feeder. If you do not have this finisher, then you will not have this area to check.
Internal Finisher Jam - Push box to the left to check paper jam

External Finisher Jam - Pull down latch to check paper jam

Toner
Now we're also going to go through the toner replenishment process. You can follow the steps below based on your model.
Toner - 2554ci, 3254ci, 3554ci, 4054ci, 5054ci, 6054ci, 4004i, 5004i, 6004i
On the body of the device there is a door (as shown below.) You can grab the tabs on the side of the device and pull down. You will see 4 individual boxes for Cyan, Magenta, Yellow and Black toner for a color device, or just a singular black toner if it's a black & white device.
It is important to note for these devices it is not possible to remove the toner cartridges until the device has completely used up all the toner. Once the device has used all the toner it will automatically release the toner cartridge allowing you to remove and replace it.
When you remove the black toner on these devices it will become your new Waste Toner and you should not throw it away. It will be repurposed as your Waste Toner. You can find instructions further down the page on how to replace the Waste Toner on these devices.
Toner - 7004i, 8004i, 9004i
For the larger black & white devices (7004i and above) there is a door right below the document feeder at the top, which can be accessed by pulling on the tabs on the side. The toner on these device has a lock labeled with a blue tab. Just flip the blue tab and then you can pull out the toner. Unlike the other models, the toner for this model will not be reused and is safe to recycle.

Waste Toner
The Waste Toner for TASKalfa models of Kyocera devices can be found in different spots and function differently as well. Please review the below based on the model you have.
Waste Toner - 2554ci, 3254ci, 3554ci, 4054ci, 5054ci, 6054ci, 4004i, 5004i, 6004i
On these devices, when the black toner runs out, the cartridge will automatically unlock and it can be removed. When you remove the black toner do not throw it out. Instead, this becomes your new waste toner bottle.
The Waste Toner can be found in the small box next to paper tray 1. You can now remove and recycle the current waste container cartridge and put the empty black toner cartridge in its place.

Again, every time you take out the black toner you will also take also take out the waste toner and replace it with the empty black toner cartridge. Your Waste Toner will never get full if you replace it every time your black toner runs out. This is one of the biggest things we get calls about on a regular basis, and we've created this blog in case you need more help!
Waste Toner for 7004i, 8004i, 9004i
The Waste Toner for these devices can be found left of the paper trays. It's a long vertical door stretching from the bottom of the paper try to the top of the unit. As the device is used the waste toner is automatically filled up over time. Once the Waste Toner is almost full your device will give you an alert. Unlike the models mentioned above this Waste Toner is not replaced with an empty toner cartridge so you will need a replacement.
The Waste Toner for these machines cannot be monitored by a Managed Print Provider. If you are using a Managed Print Provider it is advised that you contact them as soon as you get the alert to ensure you have a back up waste toner cartridge ready to replace. For a more detailed guide on all things Toner and Waste Toner related for the 7004i, 8004i and 9004i copier we recommend checking out this guide!

How to Copy and Scan with TASKalfa devices
We will briefly go over how to Copy and Scan using the Kyocera TASKalfa devices. Please note this will be a quick overview and not an in depth guide. For an in-depth guide we highly recommend going through this blog linked below.
Related Blog: https://blog.getaos.com/kyocera-taskalfa-basic-functions
Copy Features
When you are at the device you can select the copy option to open up a list of copy features.

Quick Setup Tab
Within the Copy tab you will find a list of sub tabs at the bottom. By default it will open up to Quick Setup tab, which has most of the features you will want to use when making copies. For example on the screen you will see a section titled duplex. This opens up options to let you easily make your copies one-sided to two-sided, two-sided to one-sided or any combination of preferences by a simply pressing the screen.

In the Quick Setup Tab you will also find color options. From this selection you can choose if you want your copies to be in Black & White, Full Color or Auto. We recommend that any time you need color prints that you select Auto color because the device recognizes if your copy is a color page or a black and white page.
If you use the full color option it's going to make your black and white prints with all four colors to produce true marketing black and in most cases you don't want to do that because it wastes color toner for a simple Black & White jobs. Unless you're doing something for marketing that needs full range of color, we advise always going with auto color.

Send Features
Moving along the tabs you'll next see the Send option.

From here you simply put your papers in the doc feeder on top of the machine and select "Enter destination", select the "email" option and use the on-screen keyboard to type in the email you would like to send the document to.

One nice feature about the Kyocera Copy Machines is it will showcase a blue light indicating the documents is properly loaded into the device.

Managed Print Provider Serving Michigan
Our team at American Office Solutions is dedicated to serving the Western, Central/Mid, and Southeast Michigan Areas as a trusted Managed Print Provider. Not only do we offer assistance with managing your print environment, including toner and repairs, but we also boast a knowledgeable staff ready to address any queries you may have about your device. With every installation, we provide a complimentary training session to delve deeper into using your devices and ensure that your entire team is well-versed in their operation. For any detailed information or assistance, feel free to reach out to us via phone at any time. Contact us today, and let's start a conversation about how we can assist you with your device needs.
